How to Make a Fabric Covered Headboard:
Credit to Centsational Girl Blog. For original post click here
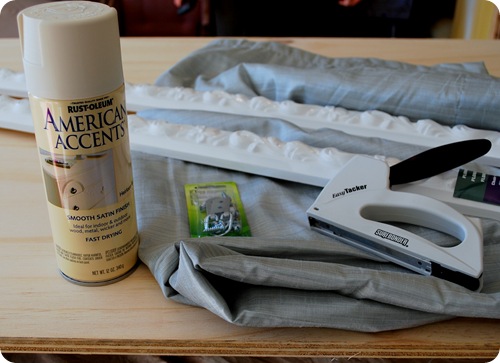
Supplies:
- Half inch plywood trimmed to fit wall.
- Fabric of choice
- Half inch foam to fit
- Batting to cover
- Decorative moulding of choice
- “D” ring hangers to mount on wall
- Paint of choice for decorative moulding
Tools: Staple gun, screwdriver, level, hammer, finish nails, miter box or saw.
Step One: Choose your decorative moulding from a home improvement store. Then have your home improvement store cut a piece of half inch plywood to fit your wall. My measurements for my Cal King bed were 74” wide x 36” tall. Make sure you subtract the width of your moulding from your final width and height measurement.
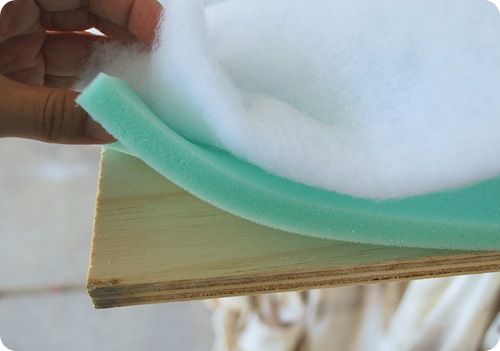
Step Two: Layer your half inch foam and batting on top of your plywood and if necessary, secure in place with a few staples on the very edge.
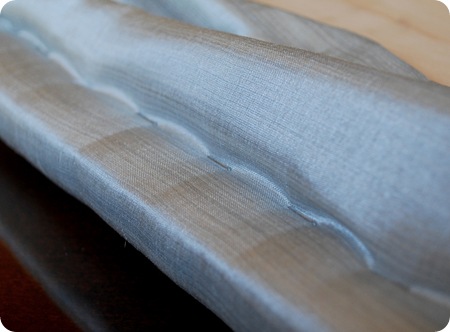
Tufting Tip: If you want to add tufted buttons to your headboard, then measure and drill holes in the back of your headboard with a drill bit, and follow the tufting tutorial I used here and here.
Step Three: Press your fabric to remove any wrinkles. Place your layered plywood headboard on top of the fabric. Pull taught, and staple every 8 inches.
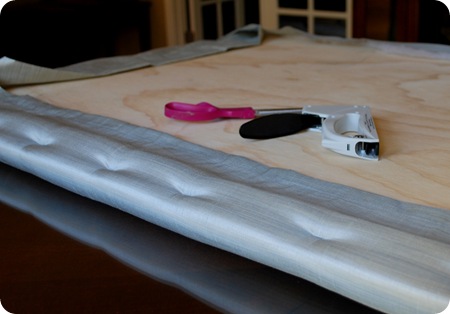
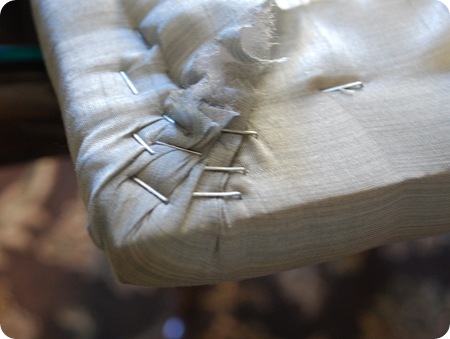
Turn your headboard over and make sure your fabric is aligned correctly. If so, then staple all around every 2 inches. Secure your corners as well. Trim excess fabric.
No comments:
Post a Comment